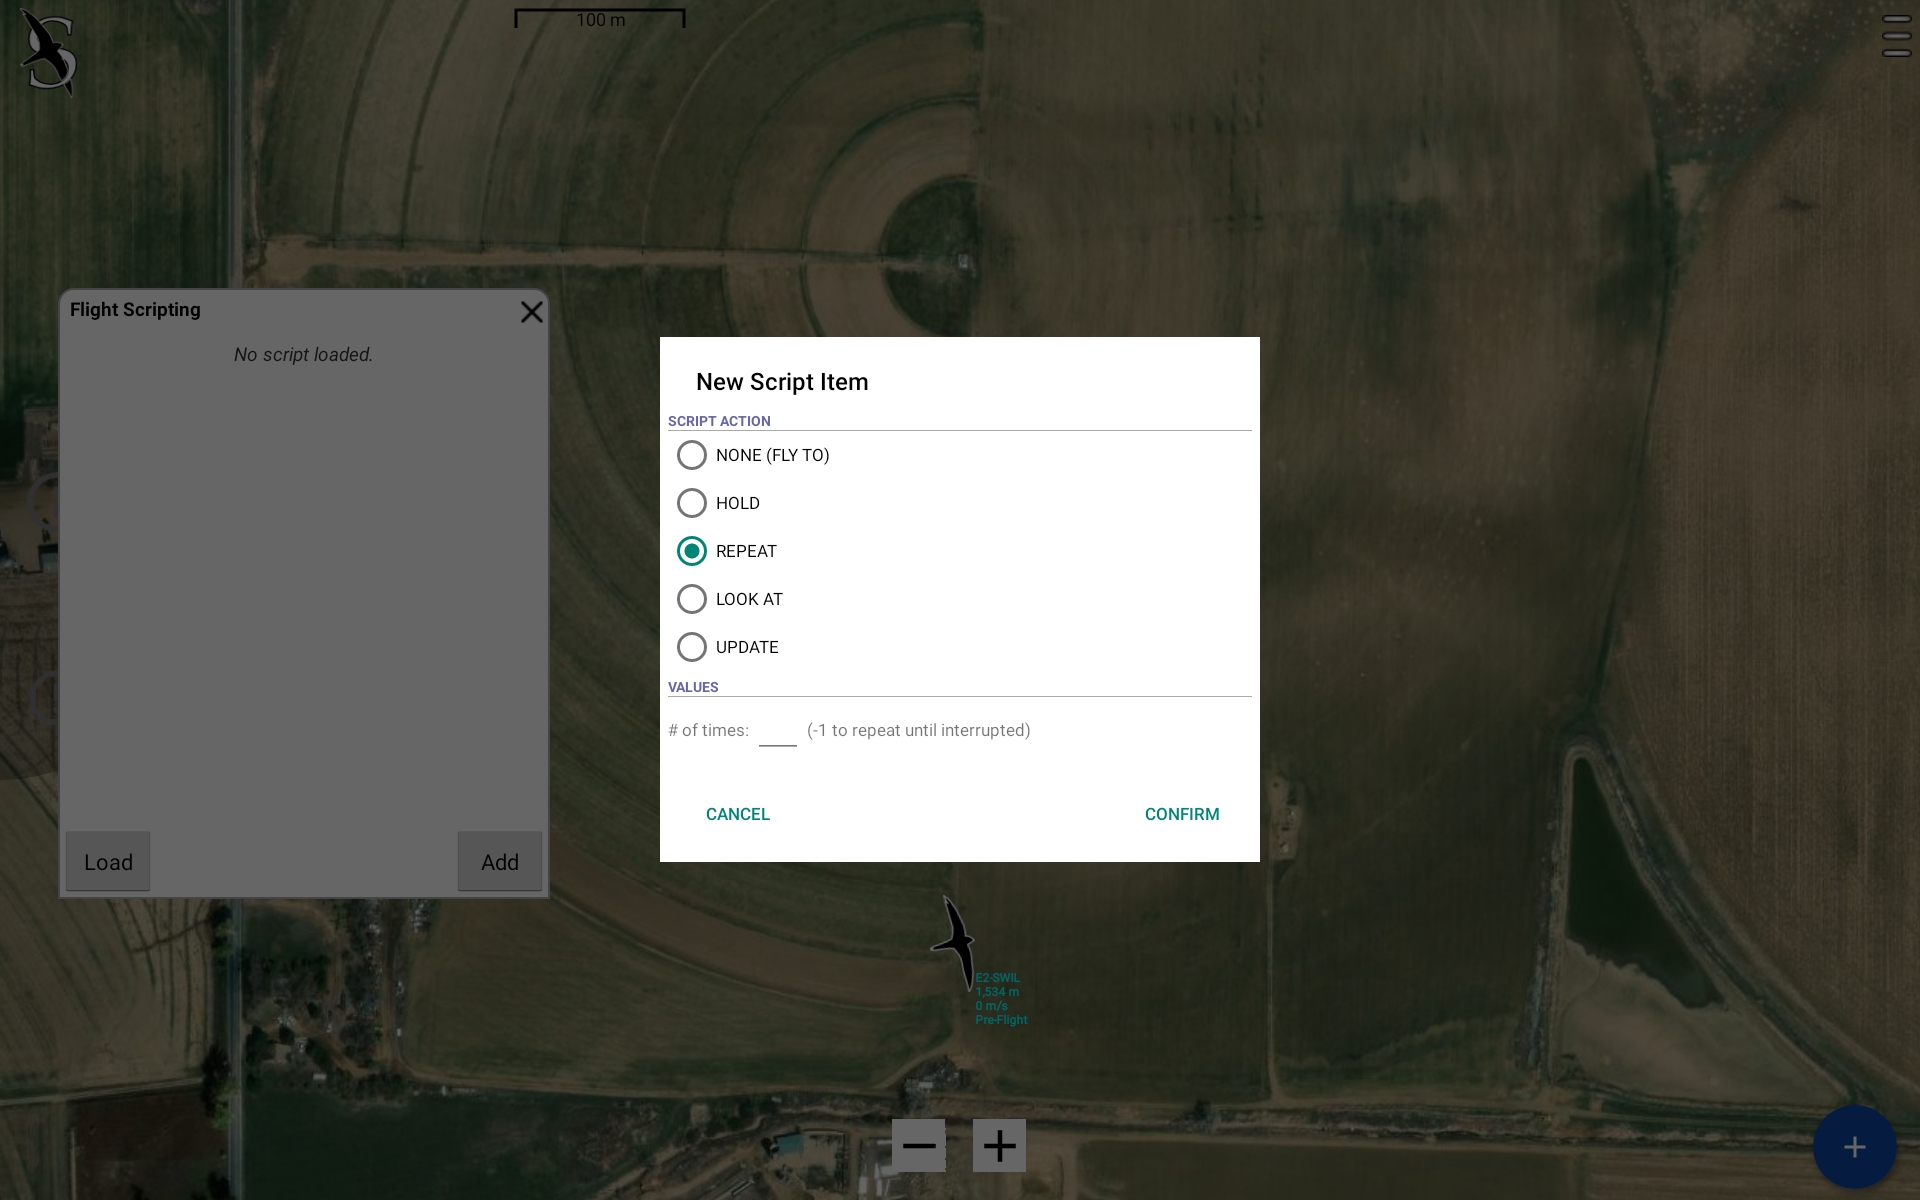
Scripting
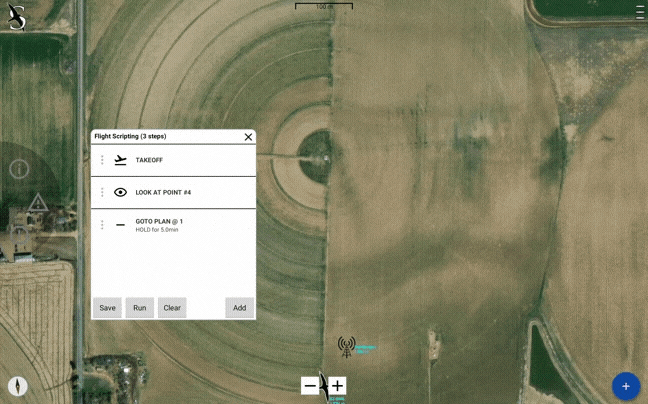
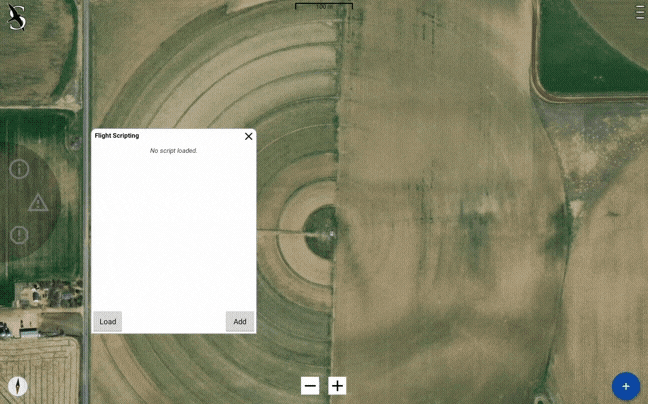
To acess the scripting menu, select the Blue Plus and then Scripting. A blank scripting window pops up, or whatever previous script you had been working on (without closing the app). Here you can load any saved scripts from the tablet. Once you have at least one step in your script, you’ll be able to save that script to the tablet or clear the whole list of commands.
You can change the order of steps by tapping and holding the step you want to move and drag it up or down to the position you want it in. Tap the three dots to the left of any step to open a menu where you can set active, edit, delete, or cancel any changes to that step.
NONE (FLY TO) - This will allow you to type the number of any waypoint you want to send the Aircraft to. This can be the start of a mapping mission or waypoint plan, a point anywhere in the middle of a mapping mission or waypoint plan, or to the aircraft’s takeoff or landing plan. Once the aircraft reaches that point, it will continue to fly the rest of the plan.
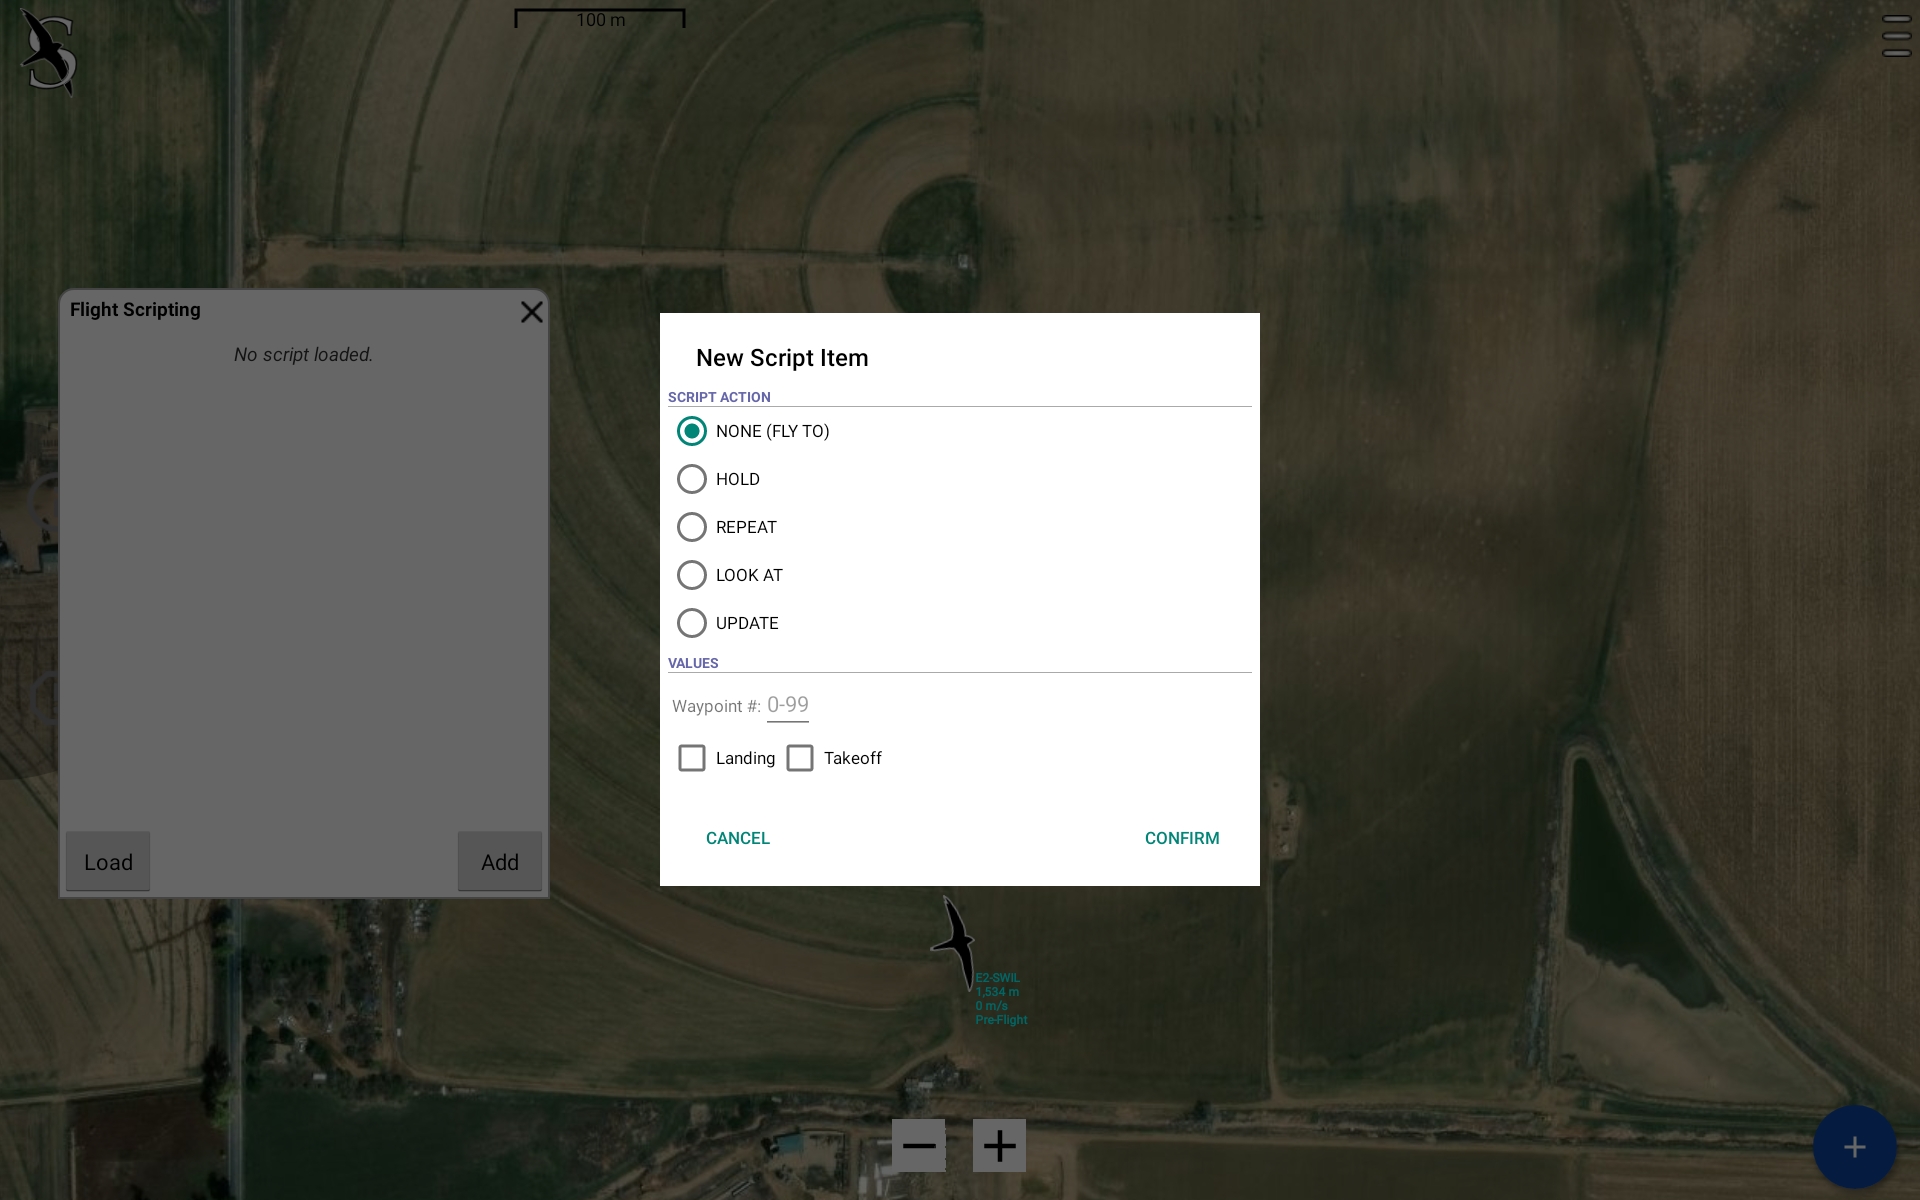
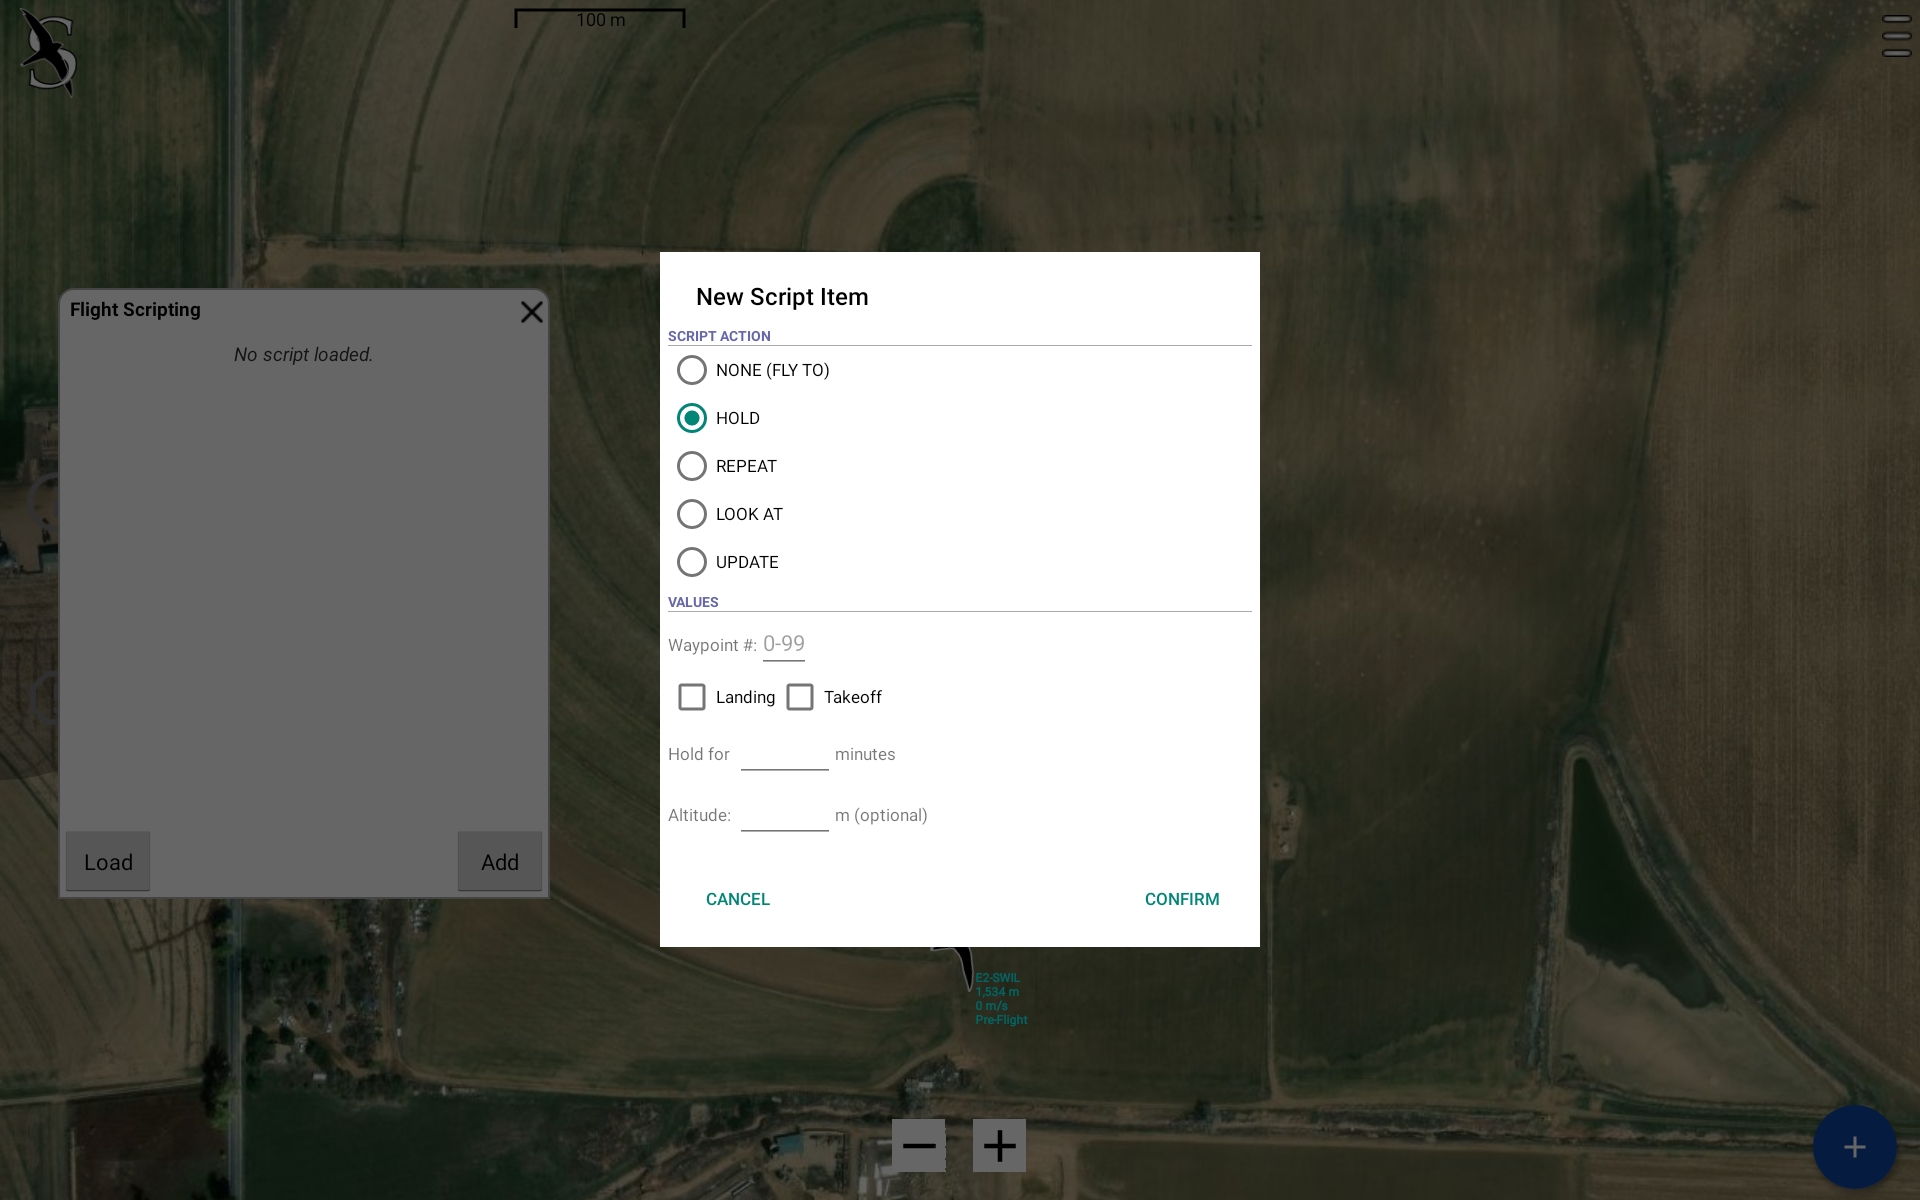
HOLD - Using this step, you can hold a certain waypoint and altitude for a specified number of minutes. This is typically used for holding an orbit at an altitude for a length of time before ascending or descending in that same orbit to a different altitude in the next step.
REPEAT - With this command, you can repeat the previous step any number of times.
LOOK AT- This command is only used for multirotors to orient the aircraft to point its nose towards a look-at point.

UPDATE - This command will allow you to to program an update to the aircraft. There are a list of possible commands to choose from.
-
"SPEED"- this will change rthe flight speed of the aircraft (m/s)
-
"HEADING" - this adjusts the direction the aircraft points (0-359 degrees where 0 is North)
-
"PAYLOAD On/Off" - this will toggle the payload on/off switch (if your payload has one), such as on the Soil Moisture suite where the switch will turn the camera on or off.
-
"PAYLOAD Open/Close" - this command will either open or close the payload door, though for photogrammetry payloads, if your payload channel is set to AUTO, the autopilot will automatically open the door when on a mapping mission, and close the door upon completion of the mapping mission, or when sent to a non-mapping plan of any kind (i.e. Landing or Takeoff)
-
"PAYLOAD Distance (m)" - this will change the distance needed to travel until the autopilot triggers the payload again.
-
"PAYLOAD Pulse Width (s)" - this will change the length of the trigger signal the autopilot sends when it triggers the payload
-
"PAYLOAD Power Up (s)" - this will supply power to payload
-
"PAYLOAD Power Down (s)" - this will cut power to the payload
Best Practices
It is often best to save all the flight plans, look at points, and scripts under a certain name and description. I.e.: “BMA2023_Mapping”, “BMA2023_Lookat1”, “BMA2023_Lookat2”, “BMA2023_Script”. This way, before you go fly, or in case of an error, a BST employee may be able to look at all the points and confirm any issues with the way the script was written, or an error with any of the waypoints or look at points. This will also allow you to save these plans and scripts to a database for future reference and repeatability.